Hugoでブログを構築しました。 簡単に構築手順をまとめてみます。
動作環境
- OS: Ubuntu 24.04
- Hugo: v0.155.3
- Git: 2.43.0
ブログ構築手順
1. Hugoのインストール
色々とインストール方法はありますが、私はsnapを利用してインストールしました。
$ sudo snap install hugo
2. 新しいHugoサイトの作成
$ hugo new site tech-blog
$ cd tech-blog
3. テーマの追加
今回は、HugoのPaperModテーマを使用しました。
GitHubからテーマをsubmoduleで追加します。
$ git init
$ git submodule add https://github.com/adityatelange/hugo-PaperMod.git themes/PaperMod
4. テーマの設定
hugo.tomlファイルを編集して、テーマを指定します。
theme = 'PaperMod'
試しにHugoのサーバーを起動してみましょう。
$ hugo server
... 省略 ...
Running in Fast Render Mode. For full rebuilds on change: hugo server --disableFastRender
Web Server is available at http://localhost:37809/ (bind address 127.0.0.1)
Press Ctrl+C to stop
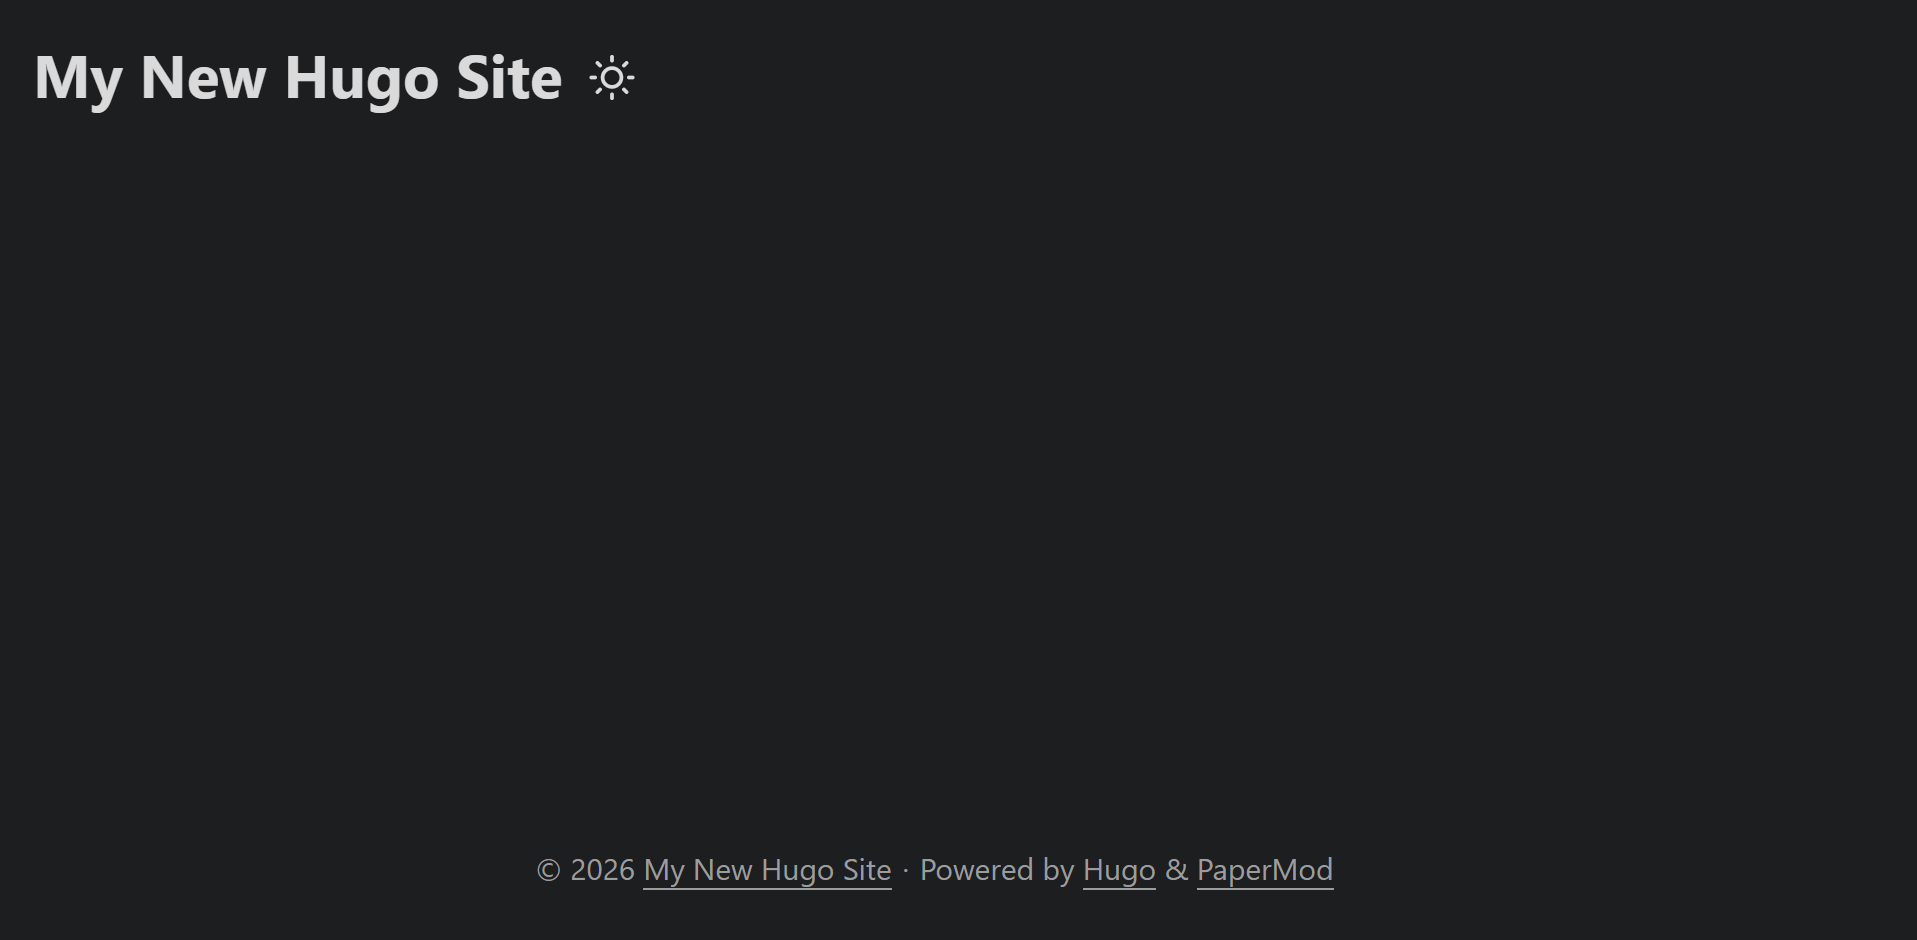
これで、ブラウザでhttp://localhost:37809/にアクセスすると、Hugoのサイトが表示されるはずです。
VSCodeからSSHでサーバーに接続しているので、ありがたいことに勝手にポートフォワーディングしてくれていました。
5. ブログ記事の作成
新しいブログ記事を作成するには、以下のコマンドを使用します。
$ hugo new posts/test-poka.md
content/posts/test-poka.mdに新しいMarkdownファイルが作成されます。
このファイルを編集して、ブログ記事の内容を記述します。
… あとでかく